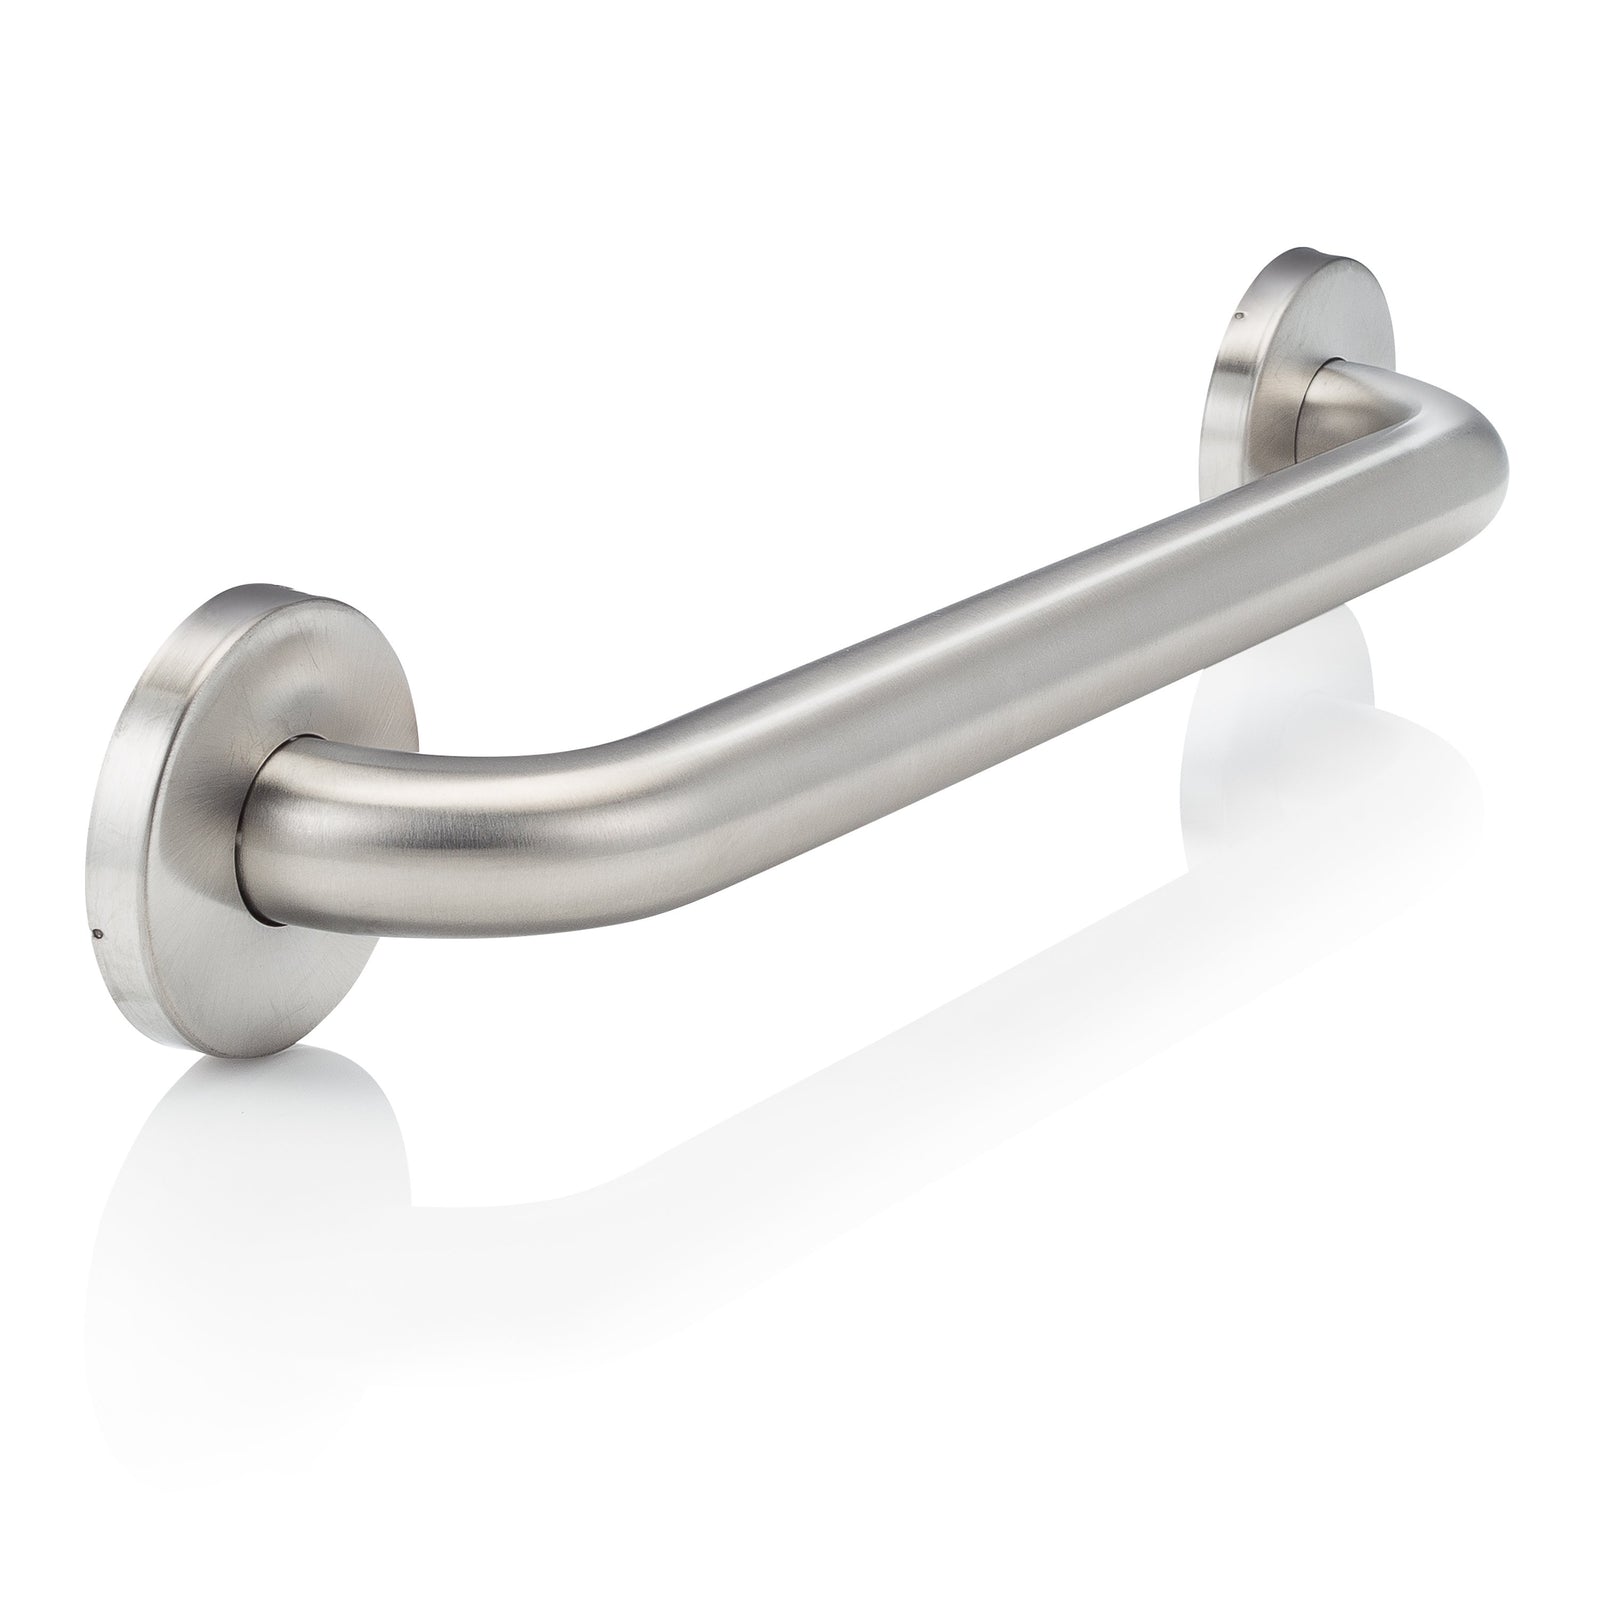
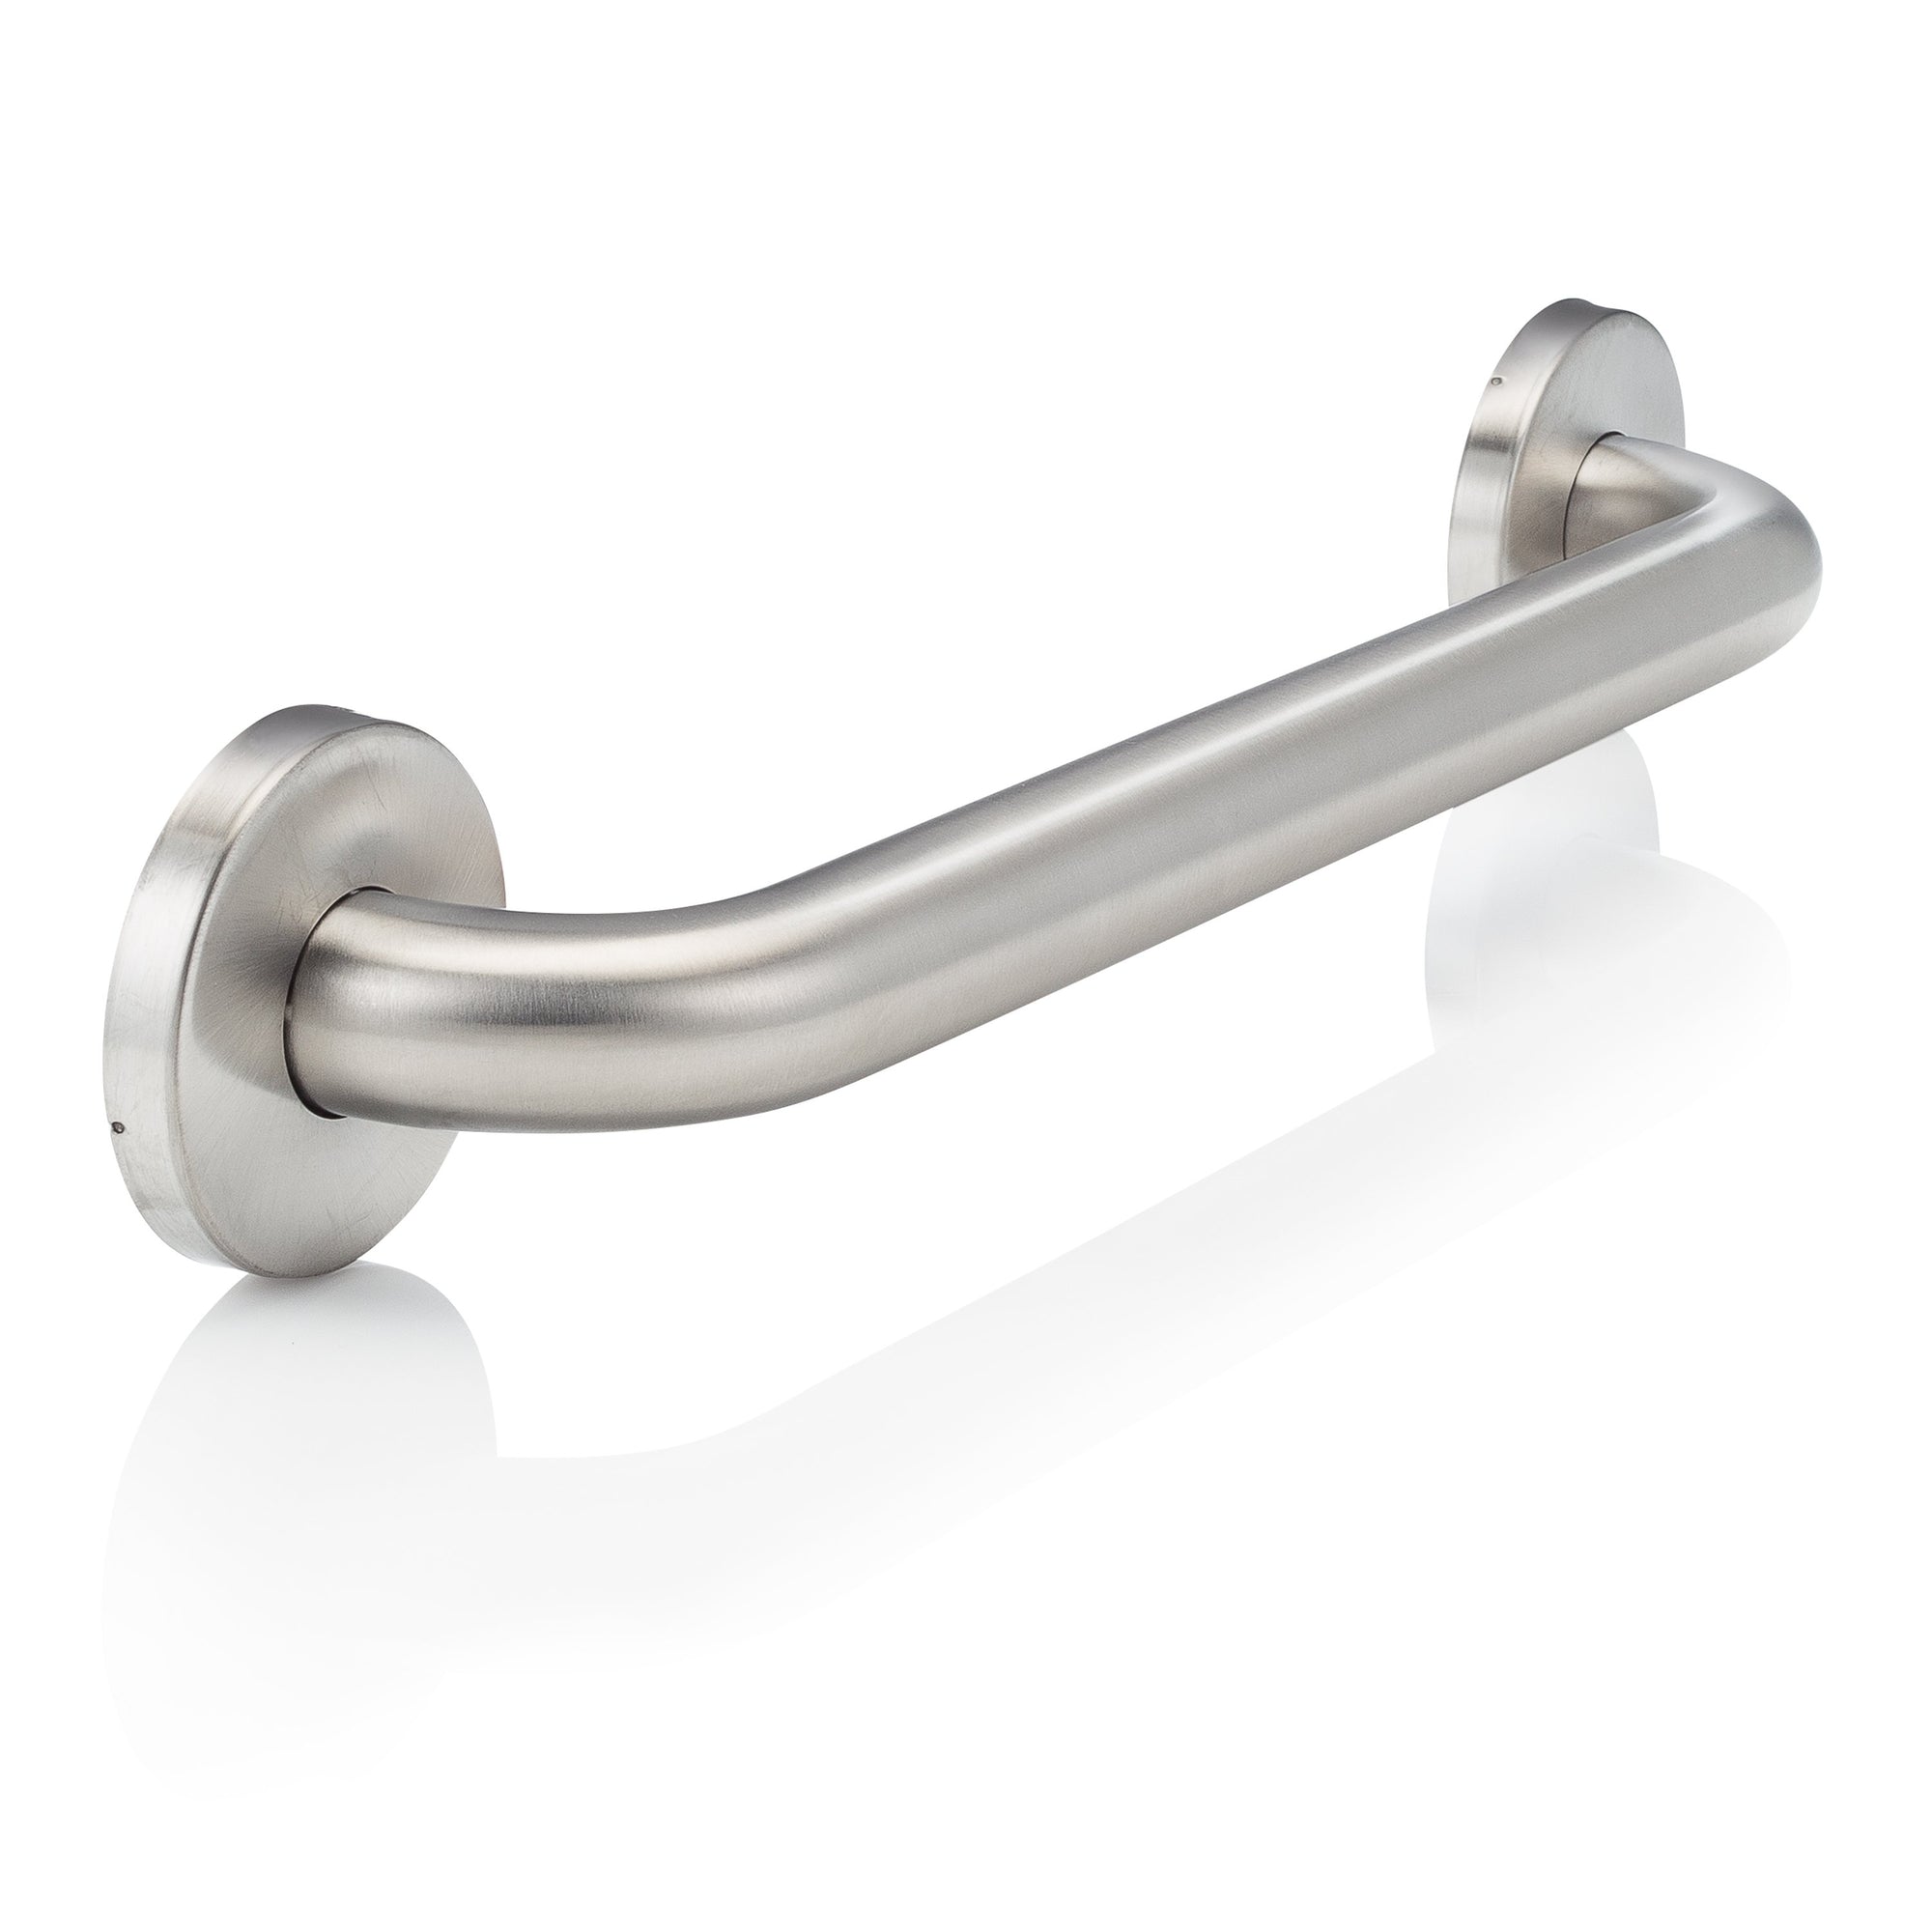
If you're trying to hang something heavy, or secure a grab bar on an interior wall, you'll often need to find a metal stud to support it. In some cases you may need to avoid it if there is any uncertainty regarding obstacles within the walls. However, using a traditional stud finder on metal studs can be challenging. In this guide, we'll walk you through the steps to use a stud finder on metal studs with ease.

Understand the differences between metal and wood studs.
Before you start using a stud finder on metal studs, it's important to understand the differences between metal and wood studs. Metal studs are typically thinner and lighter than wood studs, and they are often spaced further apart. Additionally, metal studs may have a different shape or texture than wood studs, which can affect how your stud finder detects them. By understanding these differences, you'll be better equipped to find metal studs with your stud finder.
Choose the right type of stud finder for metal studs.
When it comes to finding metal studs, not all stud finders are created equal. Some stud finders are designed specifically for wood studs and may not work as well on metal studs. Look for a stud finder that has a metal scanning mode or a deep scanning mode, which can detect metal objects deeper in the wall. Additionally, consider using a magnetic stud finder, which can detect the metal screws or nails used to attach the metal studs to the wall.
Prepare the area and calibrate your stud finder.
Before using your stud finder on metal studs, it’s important to prepare the area and calibrate your tool. Start by clearing the area of any furniture or decorations that may be in the way. Then, turn on your stud finder and hold it against a known metal surface, such as a metal door frame or light switch plate. This will help you calibrate your tool and ensure accurate readings. Once your stud finder is calibrated, you’re ready to start scanning for metal studs.
Scan the wall and mark the location of the studs.
With your calibrated stud finder in hand, slowly scan the wall in a horizontal line, starting from the top and working your way down. When the stud finder detects a metal stud, it will beep or light up. Mark the location of the stud with a pencil or tape. Continue scanning the wall until you have marked the location of all the metal studs. Once you have marked the studs, you can use them as a guide for hanging shelves, cabinets, or other heavy items on the wall.
Verify the location of the studs and start your project with confidence.
Using a stud finder on metal studs can be a bit more challenging than on wooden studs, but with this step-by-step guide, you'll be able to locate them with ease. Once you have marked the location of the studs, you can start your project with confidence, knowing that your shelves, cabinets, or other heavy items are securely anchored to the wall. Remember to always double-check the location of the studs before drilling or hanging anything on the wall.Using a Stud Finder for Metal Studs: Tips and Tricks
Are you tired of spending hours trying to locate metal studs in your walls? Look no further! In this ultimate guide, we will walk you through everything you need to know about using a stud finder for metal studs. Whether you're a DIY enthusiast or a professional contractor, finding metal studs can be a daunting task. But fear not, because we've got you covered. We will share with you the best tips and tricks to ensure accurate and efficient stud detection. From understanding the different types of stud finders to mastering the correct scanning techniques, you'll be able to confidently locate metal studs in no time. We'll also provide valuable insights on how to avoid common mistakes and troubleshoot any issues that may arise during the process. Get ready to take your stud finding skills to the next level and achieve flawless results every time. Let's dive in!
Understanding metal studs
Metal studs have become increasingly popular in construction due to their durability and versatility. Unlike traditional wood studs, which are made of timber, metal studs are typically made of steel or aluminum. They offer several advantages, such as being fire-resistant, termite-proof, and unaffected by moisture. However, locating metal studs can be challenging because they do not have the same magnetic properties as wood studs. This is where a stud finder specifically designed for metal studs comes in handy. By understanding the basics of metal studs, you'll be better equipped to use a stud finder effectively.
Metal studs are typically C-shaped or U-shaped channels, which are lightweight but strong enough to provide structural support. They are commonly used in commercial buildings, but you can also find them in residential construction, especially in modern homes. Metal studs are often spaced 16 or 24 inches apart, similar to wood studs. However, they may also be placed at different intervals depending on the building's design. It's important to note that metal studs may have electrical wiring or plumbing pipes passing through them, so exercise caution when drilling or hanging items on them. With a good understanding of metal studs, you're now ready to explore the benefits of using a stud finder designed for metal studs.
Why you need a stud finder for metal studs
Using a stud finder specifically designed for metal studs is essential for accurate and efficient stud detection. While regular stud finders can detect wood studs, they may struggle to locate metal studs due to their different properties. Metal studs do not have the same magnetic pull as wood studs, making them harder to detect without the right tool. A stud finder designed for metal studs uses different technologies, such as electronic sensors or radar, to identify the presence of metal behind the wall. By investing in a stud finder for metal studs, you'll save time and effort by avoiding the guesswork involved in locating metal studs manually.
A stud finder for metal studs typically has adjustable settings to cater to different wall thicknesses and stud depths. This flexibility allows you to customize the detection range based on your specific needs. Some stud finders also come with additional features like built-in levels or wire detection capabilities, enhancing their functionality. Whether you're hanging shelves, installing a TV mount, or performing any other task that requires secure attachment to metal studs, a stud finder designed for metal studs is an invaluable tool that will make your job much easier. Now that you understand the importance of using a stud finder for metal studs, let's explore the different types available in the market.
Types of stud finders for metal studs
When it comes to stud finders for metal studs, you have several options to choose from. Each type of stud finder utilizes different technologies to detect metal behind the wall. Here are the most common types:
1. Electronic stud finders: These stud finders use sensors to detect changes in density behind the wall. When the sensor comes across a metal stud, it sends a signal to indicate its presence. Electronic stud finders are simple to use and are suitable for detecting both wood and metal studs. However, they may require calibration before each use to ensure accurate results.
2. Magnetic stud finders: Magnetic stud finders work by detecting the magnetic field around metal objects. When placed on the wall, they can identify the presence of metal studs based on the magnetic pull. Magnetic stud finders are easy to use and do not require batteries. However, they may not be as accurate as electronic stud finders, especially if the metal studs are not magnetized.
3. Radar stud finders: Radar stud finders use electromagnetic waves to detect objects behind the wall. These stud finders emit signals that bounce back when they encounter a metal stud. By analyzing the signals, they can determine the location and depth of the stud. Radar stud finders are highly accurate and can even detect objects behind thicker walls. However, they tend to be more expensive than electronic or magnetic stud finders.
Now that you're familiar with the different types of stud finders for metal studs, let's move on to the next section to learn how to use them effectively.


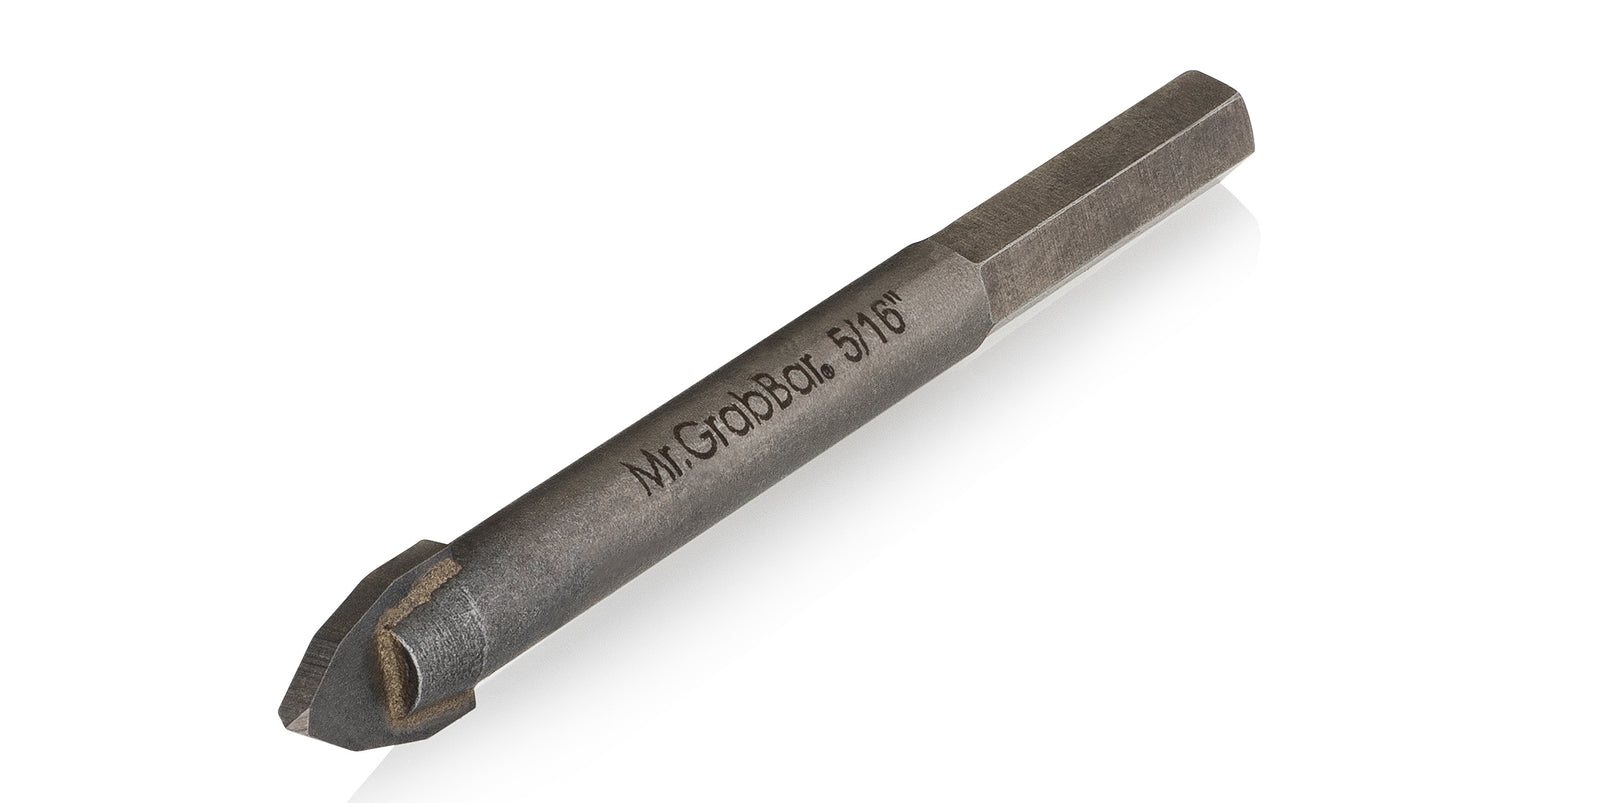


Mr. Grab Bar
June 11, 2023
One can recalibrate the sensitivity of the metal detection scanning mode to identify the heads of drywall screws embedded in both metal or wood studs, as well as help to confirm the identification of metal studs by locating the areas of higher density on the border (walls) of each stud. Adjusting the sensitivity by recalibration can often help the grab bar installer to locate objects to be avoided such as pipes, wires, or electrical panels.